The Best Homemade Paper Mache Recipe
What You’ll Love About This Recipe
Making paper mache is a fun and creative project that’s perfect for all ages, whether you’re crafting with kids or tackling it solo. You’ll love how simple it is to mix up this recipe using just a few everyday ingredients. Plus, it’s super budget-friendly, so you can create as much as your heart desires without breaking the bank. The finished product is lightweight yet sturdy, perfect for all kinds of crafting ideas. Best of all, it’s mess-free cleanup, so you can focus on the fun part—getting creative!
Recipe

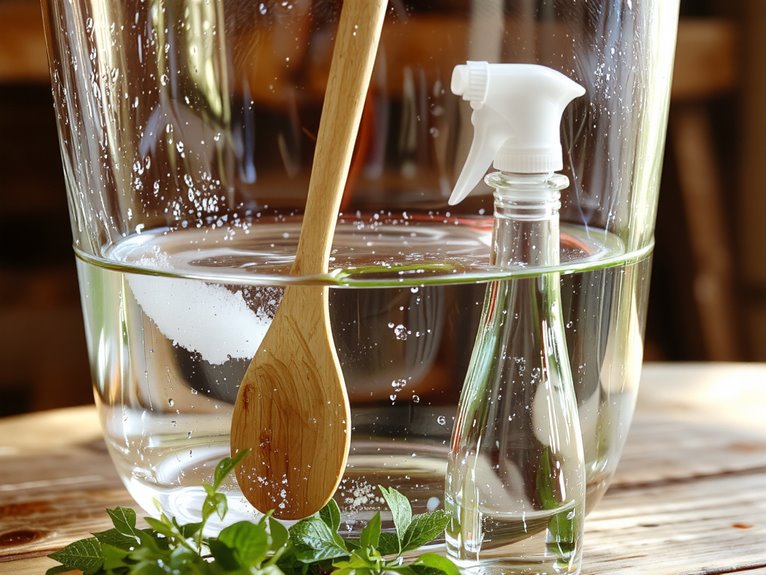
Paper mache is a versatile crafting material used to create sculptures, masks, and other decorative items. This simple recipe uses common household ingredients for an easy and cost-effective project.
Ingredients:
2 cups water
1 cup all-purpose flour
1 tablespoon salt
Instructions:
- In a medium-sized bowl, mix the flour and salt.
- Gradually add water while stirring continuously to avoid lumps.
- Stir until the mixture reaches a smooth, glue-like consistency.
- If the mixture is too thick, add a little more water. If it’s too thin, add a bit more flour.
- Use immediately or store in an airtight container for up to a few days.
Notes:
- For smoother paste, strain the mixture through a sieve to remove lumps.
- Add a few drops of essential oil or vinegar to prevent mold if storing the paste.
Equipment:
Medium-sized bowl
Measuring cups
Whisk or spoon
Sieve (optional)
Time:
Prep time: 5 minutes
Cooking time: None
Cuisine:
Crafting
Serving:
Makes enough paste for small to medium projects. Adjust quantities as needed for larger projects.
Nutrition
Paper mache is a fun and creative craft, but it’s not edible. Here’s a basic breakdown of its non-nutritional components:
| Component | Amount |
|---|---|
| Flour | 1 cup |
| Water | 2 cups |
| Salt | 1 tbsp |
What To Serve With It
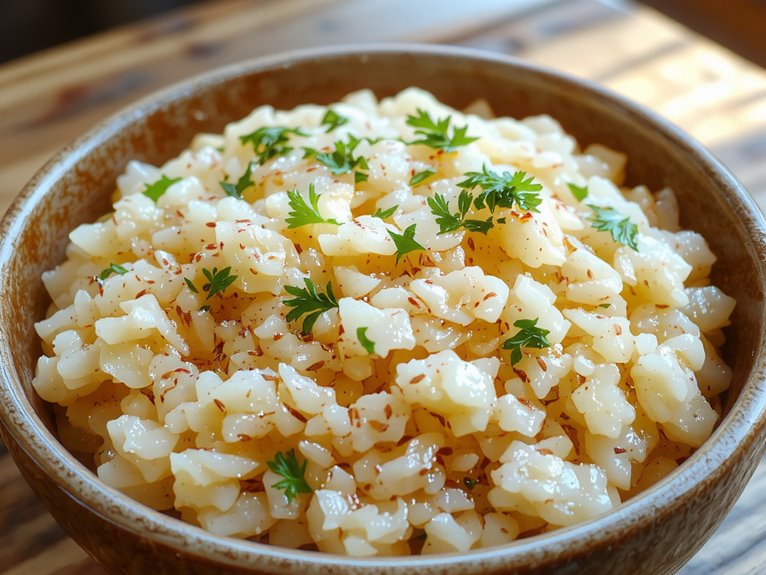
When I make paper mache, I love adding edible garnishes like fresh herbs or toasted nuts for a little extra flair. Pairing it with complementary sides, such as a light salad or warm bread, can turn it into a more satisfying meal. It’s all about finding flavors and textures that balance the dish without overpowering it.
Edible Garnishes
Although paper mache creations aren’t edible, pairing them with tasty garnishes can turn your craft project into a fun food-and-art combo! I love adding colorful, fresh fruits like sliced strawberries, kiwi, or orange segments around the display—they’re vibrant and delicious. For a savory touch, I’ll include bite-sized veggies like cherry tomatoes, cucumber rounds, or even mini cheese cubes. Don’t forget dips like hummus or ranch; they’re perfect for snacking while you admire your masterpiece. Sweet options like mini marshmallows or chocolate-covered pretzels can also add a playful vibe. These garnishes make crafting feel like a full-on party!
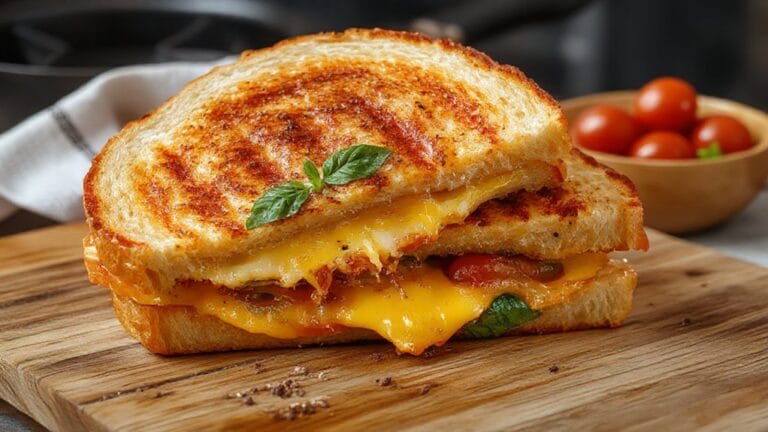
Complementary Sides
Since I love turning crafting sessions into fun, full-blown gatherings, I always make sure to pair my paper mache projects with sides that keep everyone happy. Finger foods like veggie sticks with hummus, cheese cubes, or mini sandwiches are perfect—they’re easy to grab without messy hands. For something sweet, I’ll set out a bowl of popcorn mixed with chocolate chips or a plate of cookies. Drinks matter too—lemonade or iced tea in spill-proof cups keep things simple. These snacks keep energy up and creativity flowing, so no one has to stop crafting just because they’re hungry!