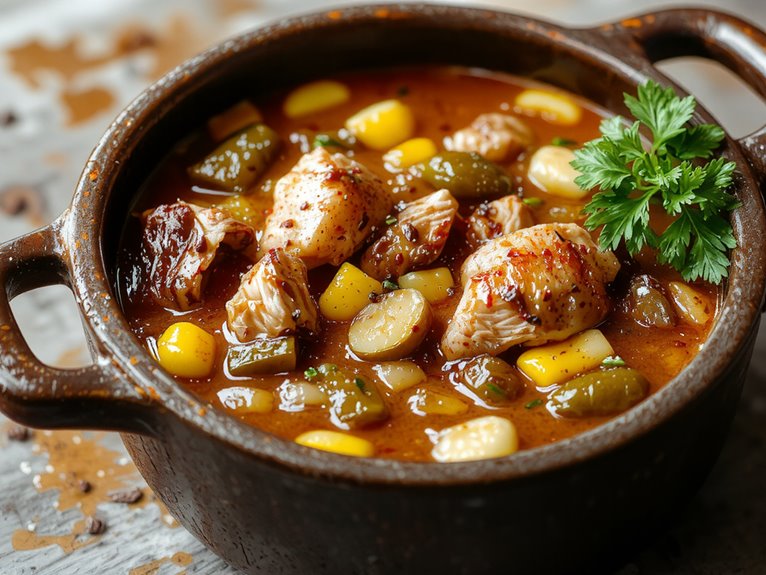
The Best Homemade Wendy’s Chili Recipe
What You’ll Love About This Recipe
This homemade Wendy’s chili recipe brings the fast-food favorite right to your kitchen, with all the rich flavors you love. It’s easy to make, packed with hearty ingredients, and perfect for cozy nights.
- Just like the real thing—enjoy that signature Wendy’s taste without leaving home.
- Simple and budget-friendly—uses everyday ingredients you probably already have.
- Great for leftovers—the flavors get even better the next day!
Recipe

Recreate Wendy’s Signature Chili at Home, Bringing Comfort and Flavor to Your Kitchen.
Ingredient:
1 lb ground beef (80% lean)
1 onion, diced
1 green bell pepper, diced
2 celery stalks, diced
1 can (15 oz) kidney beans, drained and rinsed
1 can (15 oz) pinto beans, drained and rinsed
1 can (8 oz) tomato sauce
1 can (6 oz) tomato paste
1 can (14.5 oz) diced tomatoes
2 cups beef broth
1 tablespoon chili powder
1 teaspoon cumin
1/2 teaspoon garlic powder
1/2 teaspoon onion powder
1/2 teaspoon paprika
1/2 teaspoon black pepper
1/2 teaspoon salt
1/4 teaspoon cayenne pepper (optional)
Instructions:
Brown the ground beef in a large pot over medium heat, breaking it up into crumbles. Once cooked, drain excess fat.
Add the diced onion, green bell pepper, and celery to the pot. Cook until vegetables are tender, about 5 minutes.
Stir in the tomato sauce, tomato paste, diced tomatoes, and beef broth. Mix well.
Add the kidney beans, pinto beans, chili powder, cumin, garlic powder, onion powder, paprika, black pepper, salt, and cayenne pepper (if using). Mix thoroughly.
Bring the chili to a boil, then reduce heat to low. Cover and simmer for 45 minutes to 1 hour, stirring occasionally.
Taste and adjust seasoning if needed. Serve hot with your favorite toppings like shredded cheese, sour cream, or chopped green onions.
Notes:
For a thicker chili, reduce the amount of beef broth.
Adjust the spices to suit your taste.
Leftovers can be stored in an airtight container in the refrigerator for up to 3 days or frozen for up to 3 months.
Equipment:
Large pot
Wooden spoon
Can opener
Time:
Prep time: 15 minutes
Cooking time: 1 hour
Total time: 1 hour 15 minutes
Cuisine: American
Serving: 6 servings
Nutrition
The nutritional content of this homemade Wendy’s chili recipe varies based on the specific ingredients and portions used. Below is a general estimation per serving.
| Nutrition | Per Serving |
|---|---|
| Calories | 300 kcal |
| Total Fat | 10 g |
| Saturated Fat | 3 g |
| Cholesterol | 50 mg |
| Sodium | 800 mg |
| Total Carbohydrates | 30 g |
| Dietary Fiber | 7 g |
| Sugars | 5 g |
| Protein | 20 g |
What To Serve With It
I love pairing my homemade Wendy’s chili with warm, buttery cornbread—it’s the perfect side to soak up every last bite. A sprinkle of shredded cheddar or a dollop of sour cream on top adds a creamy, cheesy kick that takes it to the next level. Trust me, these simple additions make the meal feel extra cozy and satisfying.
Cornbread Options
Since chili and cornbread are a classic pair, you can’t go wrong serving a warm, buttery slice alongside your homemade Wendy’s-style chili. For a crowd-pleaser, I love making sweet cornbread with a hint of honey—it’s the perfect balance to the chili’s savory kick. If you’re catering to dietary needs, gluten-free cornbread is just as delicious and easy to whip up using almond or corn flour. Whether you bake it in a skillet or muffin tin, cornbread adds a comforting touch to the meal. Trust me, it’s worth the extra effort to complete your chili night!
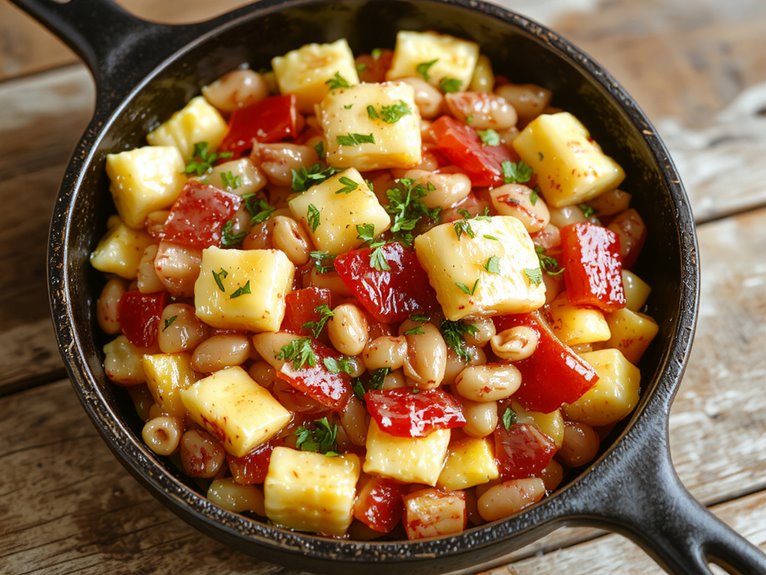
Cheese Toppings
Cheese turns a bowl of chili into something truly special—it’s like the cozy blanket you didn’t know you needed. I love experimenting with cheese varieties, from sharp cheddar to creamy Monterey Jack, each adding its own twist. For the best melting techniques, shred your cheese finely—it melts faster and more evenly than pre-shredded stuff. A sprinkle right before serving lets it soften just enough without turning gooey. Sometimes, I’ll even broil it for a minute to get that golden, bubbly top. Trust me, the right cheese can take your chili from good to “can I have seconds?” in no time.