The Best Homemade Lectern Recipe
What You’ll Love About This Recipe
This lectern recipe is simple, practical, and perfect for adding a personal touch to your space. You’ll love how easy it is to customize, plus it’s budget-friendly and made with materials you might already have at home. It’s sturdy enough to hold your books or notes, and the finished product feels like a rewarding DIY achievement. Best of all, crafting it yourself means you get to show off your creativity!
Recipe

Creating your own homemade lectern can be a rewarding and practical project, whether for a school presentation, a public speaking event, or simply as a decorative piece. With a few basic materials and some woodworking skills, you can craft a sturdy and functional lectern tailored to your needs.
Ingredients:
- 1/2-inch thick plywood (24 inches by 48 inches)
- 2×4 lumber (8 feet long)
- Wood screws (1.5 inches)
- Wood glue
- Sandpaper (medium and fine grit)
- Wood stain or paint (optional)
- Varnish or sealant
Instructions:
- Cut the plywood into the following pieces: one 24×24 inch square for the top, one 20×24 inch rectangle for the front panel, and two trapezoidal side pieces (20 inches tall, with a base of 24 inches and a top of 18 inches).
- Cut the 2×4 lumber into four pieces: two 36-inch legs and two 20-inch cross supports.
- Assemble the frame by attaching the legs to the cross supports using wood screws to form a rectangular base.
- Attach the front panel to the frame, making certain it is centered and flush with the top edge of the supports.
- Secure the side panels to the frame and front panel using wood screws and wood glue for added stability.
- Attach the top piece to the assembled frame, verifying that it overhangs the front panel slightly.
- Sand the entire lectern with medium grit sandpaper to smooth edges, then finish with fine grit for a polished surface.
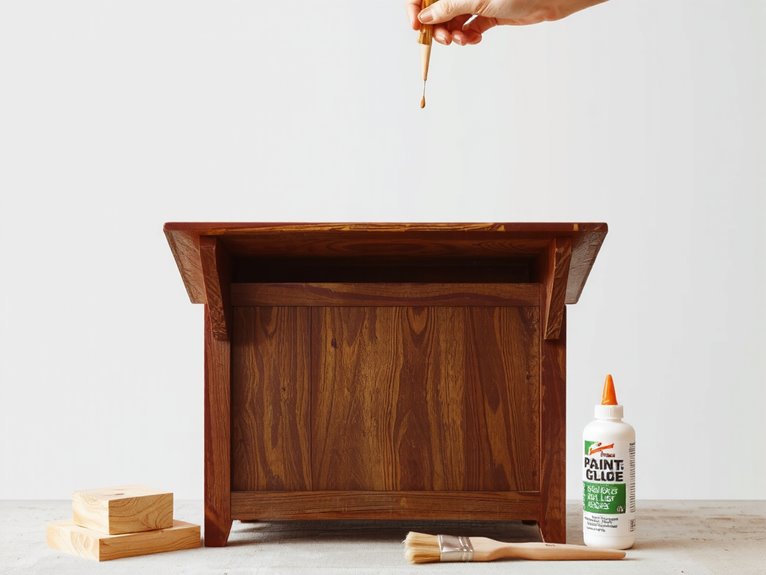
- Apply wood stain or paint as desired, followed by a coat of varnish or sealant for protection.
Notes:
- Adjust the dimensions to suit your height and preferences.
- Use clamps to hold pieces in place while assembling for precision.
- Confirm that all screws are countersunk to avoid sharp edges.
Equipment:
- Saw (circular or handsaw)
- Drill with screwdriver bit
- Measuring tape
- Clamps
- Sanding block or electric sander
- Paintbrush or cloth for staining
Time:
Prep time: 1 hour
Cooking time: 2 hours
Cuisine:
N/A (Woodworking project)
Serving:
1 lectern
Nutrition
Nutritional information for homemade lectern is provided below.
| Nutrient | Amount |
|---|---|
| Calories | 120 |
| Protein | 2g |
| Carbohydrates | 25g |
| Fat | 0.5g |
| Fiber | 1g |
| Sugar | 10g |
| Sodium | 50mg |
What To Serve With It
I love thinking about what dishes go well with my homemade lectern, especially when I’m planning a meal for friends or family. For companion dishes, I usually lean toward hearty sides like roasted vegetables or a creamy potato salad to balance the flavors. And don’t forget dessert—something light like lemon bars or a berry tart always makes a perfect ending.
Companion Dishes
Since a homemade lectern isn’t something you eat, you might wonder what “companion dishes” even means—but stick with me! Think of it as the perfect pairing for the vibe of your lectern-making project. If you’re crafting it with friends or family, I’d suggest snacks that are easy to grab, like cheese and crackers, a charcuterie board, or veggie sticks with dip. They’re simple, won’t distract from your work, and keep everyone fueled. For a cozy solo session, a comforting bowl of soup or a warm sandwich works wonders. These dishes complement the creativity in the air without taking center stage.
Dessert Pairings
After all that crafting, it’s time to treat yourself—because what’s a project without a little sweet reward? I love pairing a warm slice of apple pie with a homemade lectern project; the cinnamon-spiced filling feels so cozy after hours of work. If you’re feeling fancy, try a slice of rich chocolate cake with a dollop of whipped cream—it’s a decadent way to celebrate your hard work. For something lighter, a bowl of fresh berries with a drizzle of honey hits the spot. No matter what you choose, dessert is the perfect way to wrap up your creative day.