The Best Homemade Pumpkin Bars Recipe
What You’ll Love About This Recipe
These pumpkin bars are the perfect treat for fall, combining rich flavors with a simple baking process. You’ll love how soft and moist they turn out, making every bite a delight. They’re incredibly easy to make, even if you’re not a seasoned baker. Plus, they’re packed with warm spices that bring out the cozy feeling of the season. And, they’re a hit with everyone, from kids to adults, making them a great choice for family gatherings or a sweet snack at home.
Recipe
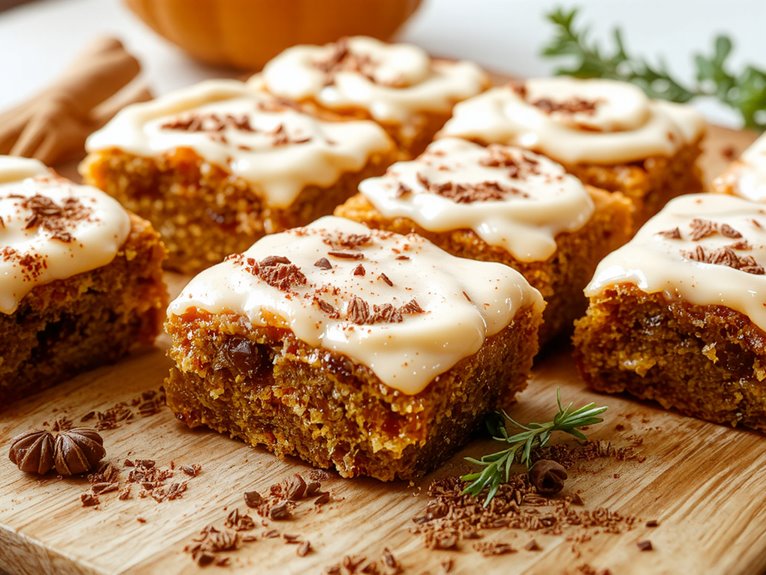
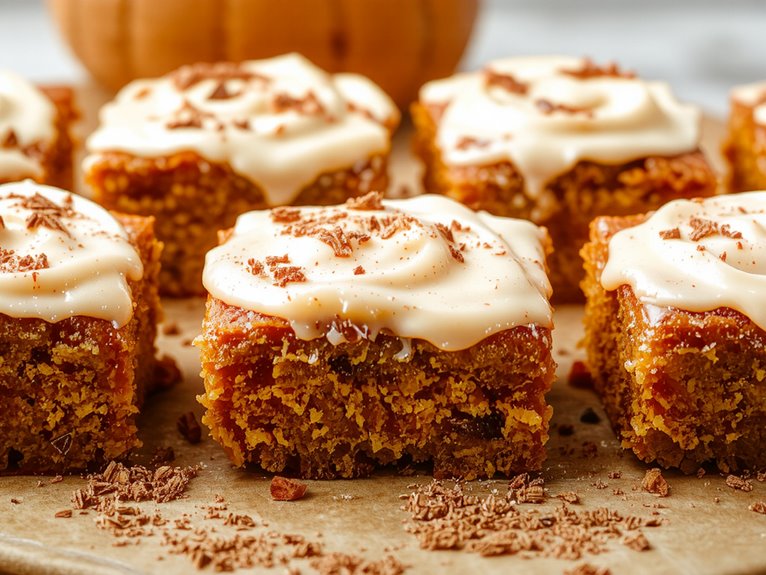
These homemade pumpkin bars are a delightful treat perfect for fall. They combine the warm flavors of pumpkin and spices in a moist, cake-like bar topped with a creamy frosting. Easy to make and even easier to enjoy, they’re a crowd-pleaser for any occasion.
Ingredients:
- 1 ½ cups granulated sugar
- 1 cup vegetable oil
- 4 large eggs
- 1 can (15 oz) pumpkin puree
- 2 cups all-purpose flour
- 2 tsp baking powder
- 2 tsp ground cinnamon
- 1 tsp baking soda
- ½ tsp salt
- ½ tsp ground ginger
- ½ tsp ground cloves
- ½ tsp ground nutmeg
For the frosting:
- ½ cup unsalted butter, softened
- 3 cups powdered sugar
- 1 tsp vanilla extract
- 2-3 tbsp milk
Instructions:
- Preheat the oven to 350°F (175°C). Grease a 15×10-inch baking pan.
- In a large bowl, whisk together sugar, oil, eggs, and pumpkin until smooth.
- In a separate bowl, combine flour, baking powder, cinnamon, baking soda, salt, ginger, cloves, and nutmeg.
- Gradually add the dry ingredients to the wet ingredients, mixing until just combined.
- Spread the batter evenly into the prepared pan.
- Bake for 25-30 minutes or until a toothpick inserted into the center comes out clean. Let cool completely.
- For the frosting, beat butter, powdered sugar, vanilla, and milk until smooth. Spread over the cooled bars. Cut into squares and serve.
Notes:
- Store leftover bars in an airtight container at room temperature for up to 3 days or refrigerate for up to a week.
- For a thicker frosting, add more powdered sugar; for a thinner consistency, add more milk.
Equipment:
- 15×10-inch baking pan
- Mixing bowls
- Whisk or electric mixer
- Measuring cups and spoons
Time:
- Prep time: 15 minutes
- Cooking time: 25-30 minutes
Cuisine:
American
Serving:
Makes 24 bars.
Nutrition
These pumpkin bars are a delicious treat packed with nutrients. Here’s the nutritional breakdown per serving:
| Calories | Total Fat | Saturated Fat | Cholesterol | Sodium | Total Carbs | Dietary Fiber | Sugars | Protein |
|---|---|---|---|---|---|---|---|---|
| 220 | 10g | 4g | 35mg | 180mg | 30g | 2g | 18g | 3g |
What To Serve With It
I love pairing my pumpkin bars with creamy toppings that add just the right touch of sweetness. A thick layer of cream cheese frosting makes them extra rich, while a dollop of whipped cream keeps things light and airy. You can’t go wrong with either!
Cream Cheese Frosting
While pumpkin bars are delicious on their own, they’re even better when topped with a rich, tangy cream cheese frosting that balances their sweetness perfectly. I love how the creamy frosting adds just the right touch of tanginess to cut through the bars’ natural sweetness. Getting the frosting consistency right is key—it should be smooth and spreadable, not too stiff or runny. I always make sure my cream cheese and butter are softened before mixing, so everything blends seamlessly. A hint of vanilla extract rounds out the flavor, making it the perfect finishing touch. Trust me, it’s a game-changer!
Whipped Cream Topping
For those who want something lighter than cream cheese frosting, a fluffy whipped cream topping is a great alternative. I love its light texture, which pairs perfectly with the rich pumpkin flavor without overpowering it. The best part? It’s an easy preparation—just whip heavy cream with a bit of sugar and vanilla until soft peaks form. I sometimes add a pinch of cinnamon for extra warmth. It’s so simple, yet it elevates the bars beautifully. Serve it fresh, or dollop it on right before eating. Trust me, it’s a game-changer for anyone who prefers a lighter, airier finish.